
The lanyard craft we loved as kids will keep older kids busy at your Chanukah party
I remember the camp days when we’d receive our lanyard strings…I always anticipated choosing the colors and then choosing which stitch I was going to create. This is why, a couple of years ago, when I was perusing the aisles at Michael’s, trying to brainstorm a kids’ activity for my Chanukah party…my eyes lit up when they landed on the lanyard.
For those who don’t have such memories, lanyard is simply plastic strings that we’d use to stitch bracelets or keychains. They’re waterproof, durable, and there are lots of different stitches and designs you can create. I recommend this activity for kids at least 9 or 10 and up (pre-teens especially). Plan a different activity for the younger kids so adults don’t need to be busy stitching for the little ones who need help.
Here’s how I set up my party lanyard station.
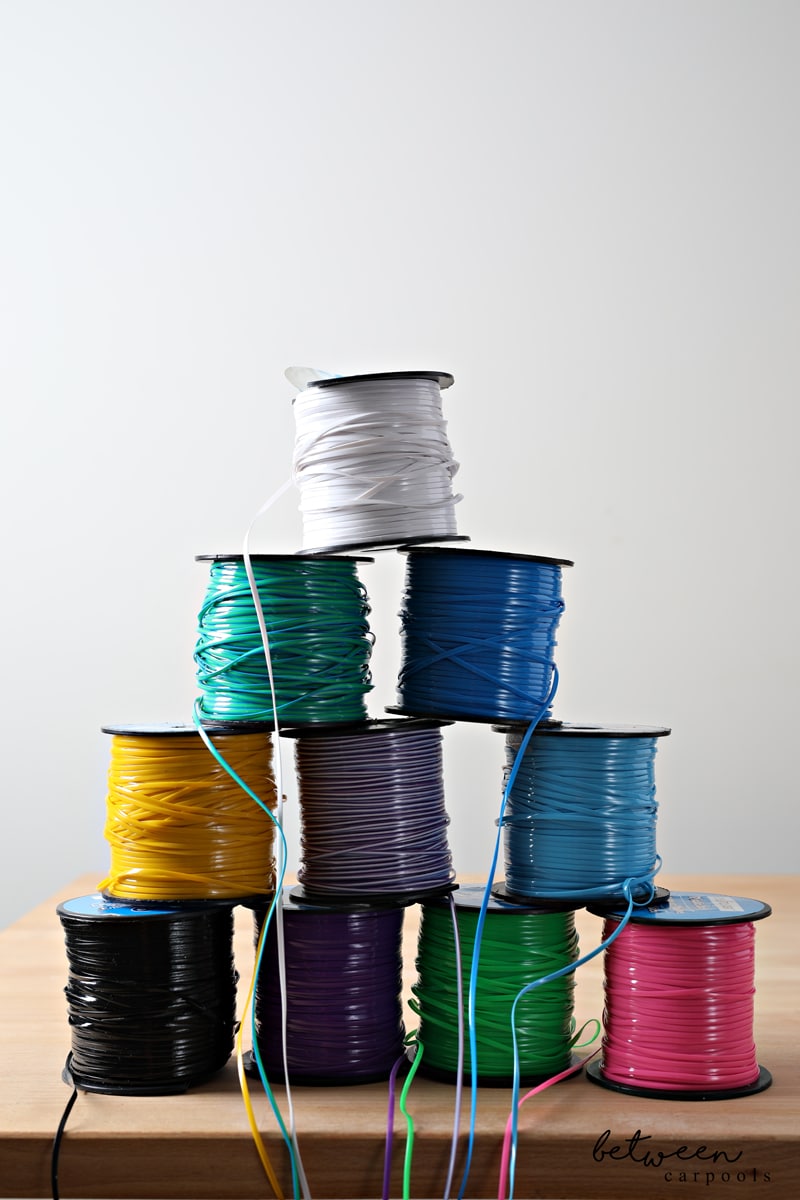
Buy lots and lots of colors of lanyard. There are lots available at craft stores such as Michaels, or you can get a 10-pack of spools such as this one.
You don’t need any additional materials to make bracelets, although if you want to offer a key ring option (appropriate for boys who aren’t stitching bracelets), get an assortment of key rings such as these. Girls will also enjoy making keychains for their backpacks.
Lastly, print out some stitch instructions. Though you can see a couple of the most basic stitches below, it’s fun to give kids a range of ideas without having to personally show them step-by-step. I like BoonDoggleman.com because he features step-by-step photos, but there are other sites with more concise instructions. Staple packets of stitch instructions together and leave them on your table so kids can teach themselves new stitches.
Here are some favorite stitches that, once you learn as a kid, you never forget.
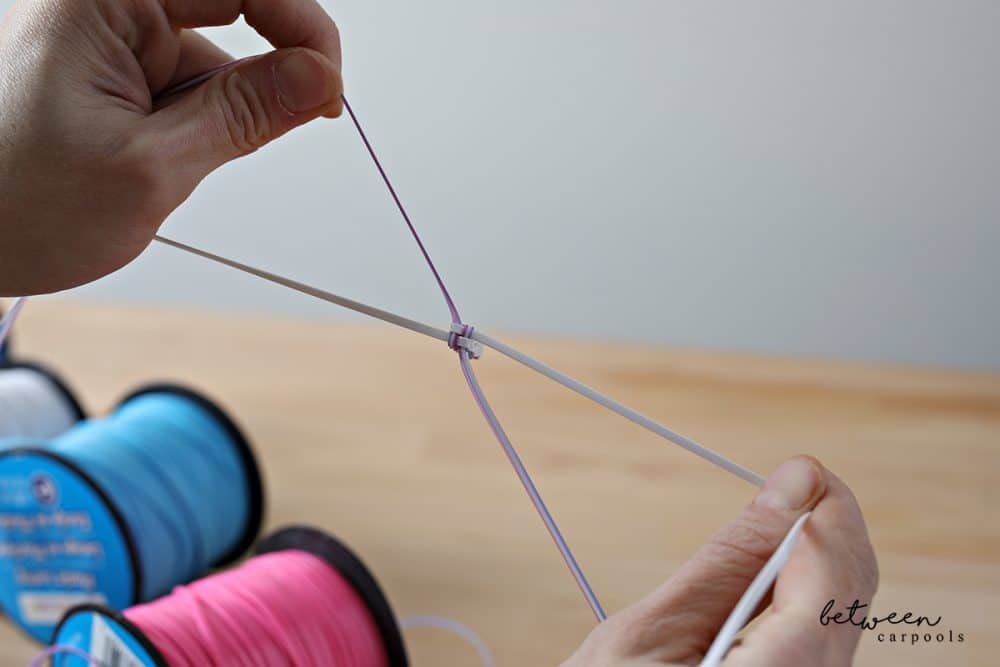
The Box Stitch
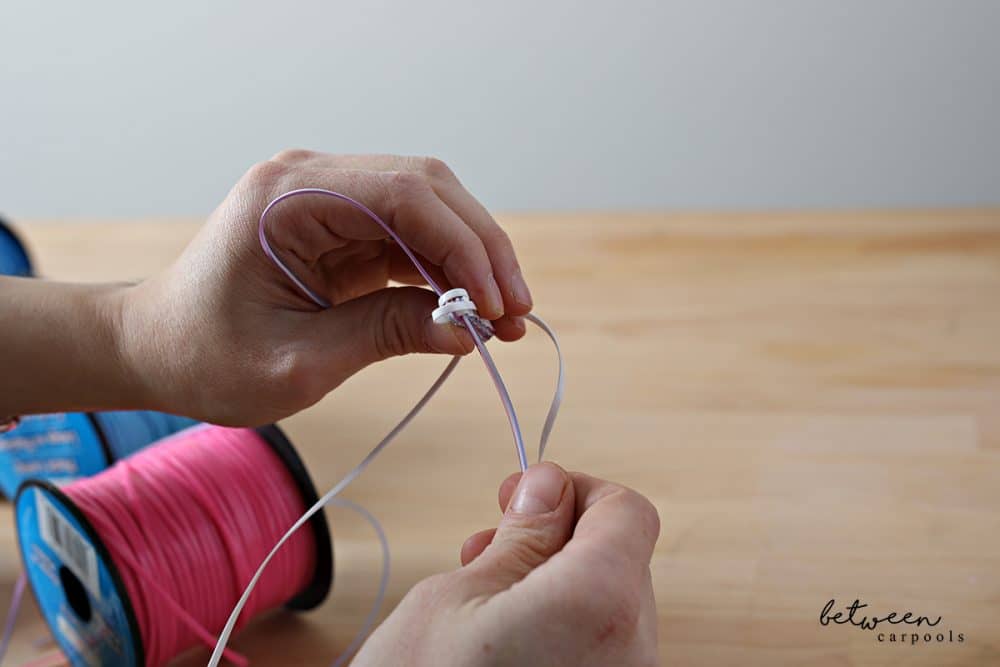 You’ll start with 2 long strings of lanyard (2 different colors). Place them perpendicular to each other, then loop one of the colors over the center in opposite directions.
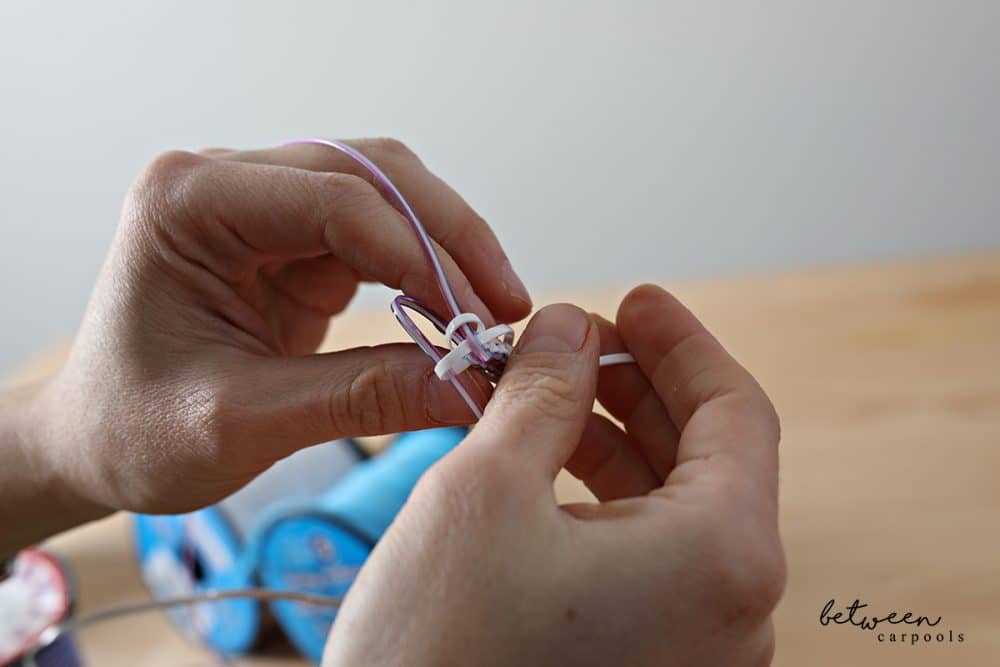 Weave the other 2 strings (the other color) over and under (over an open end and under a closed loop, as shown)
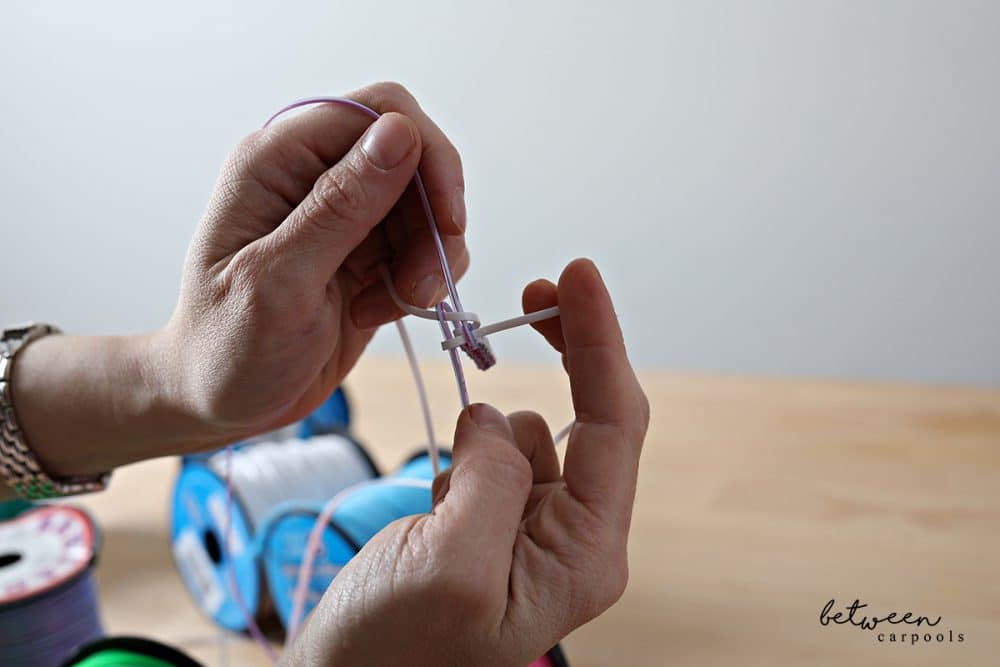
 Pull tight!
There are lots of variations of Box Stitch…the stitches can be turned on an angle to create a “Barrel” variation, or you can use more strings to create a large box or barrel.
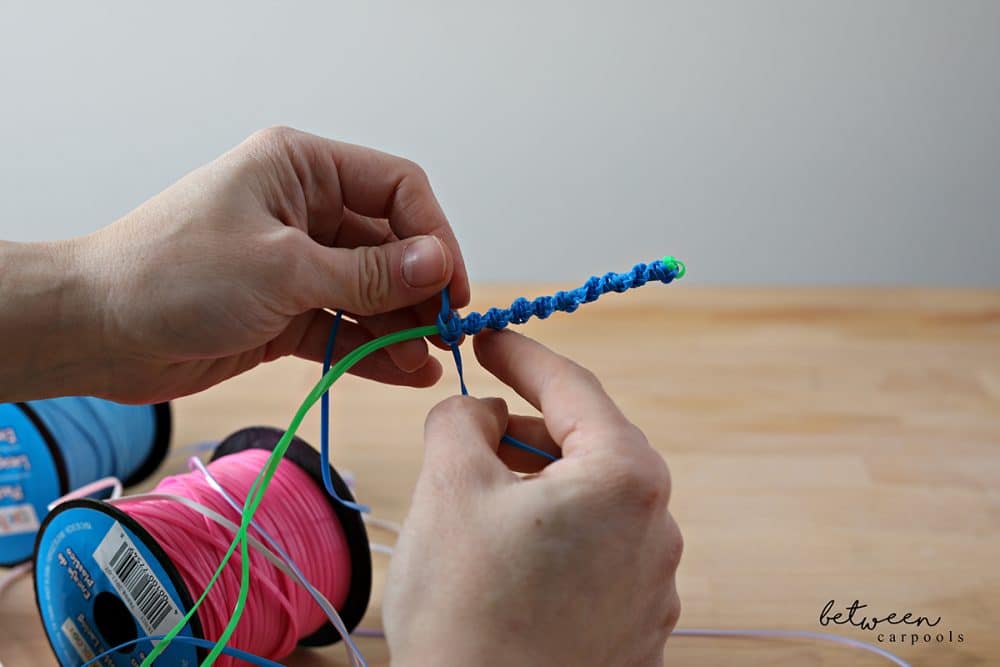
And now for…Chinese Staircase (or the Cobra variation).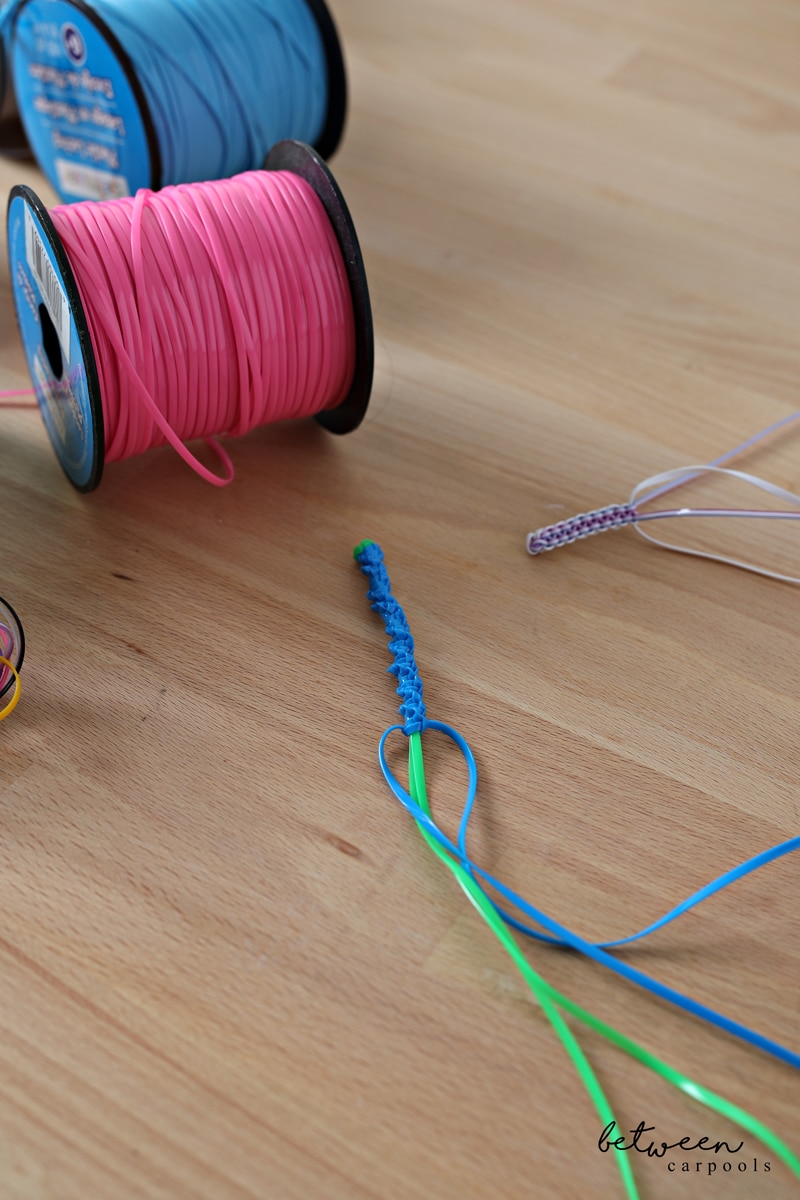
Again, choose 2 colors. Fold the strings in half. For the Chinese Staircase, you only need one color string to be long. The other can be shorter. Note: I kept this Chinese Staircase to one color. You can also put one of each color on the inside, and one string of each color on the outside. Then you’d need evenly-sized strings, even if the shorter ends stay on the inside.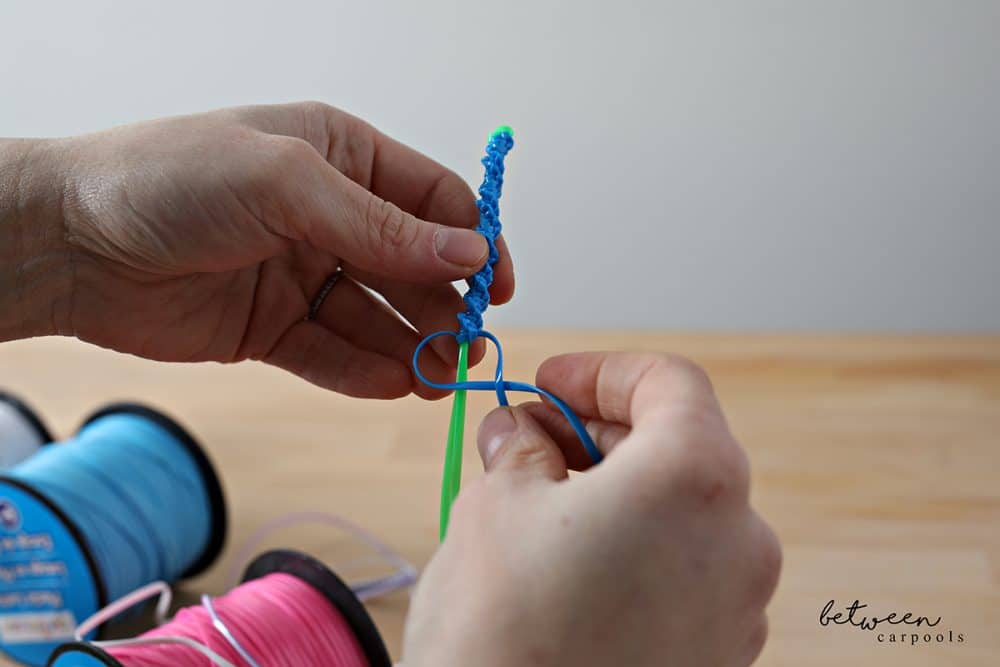
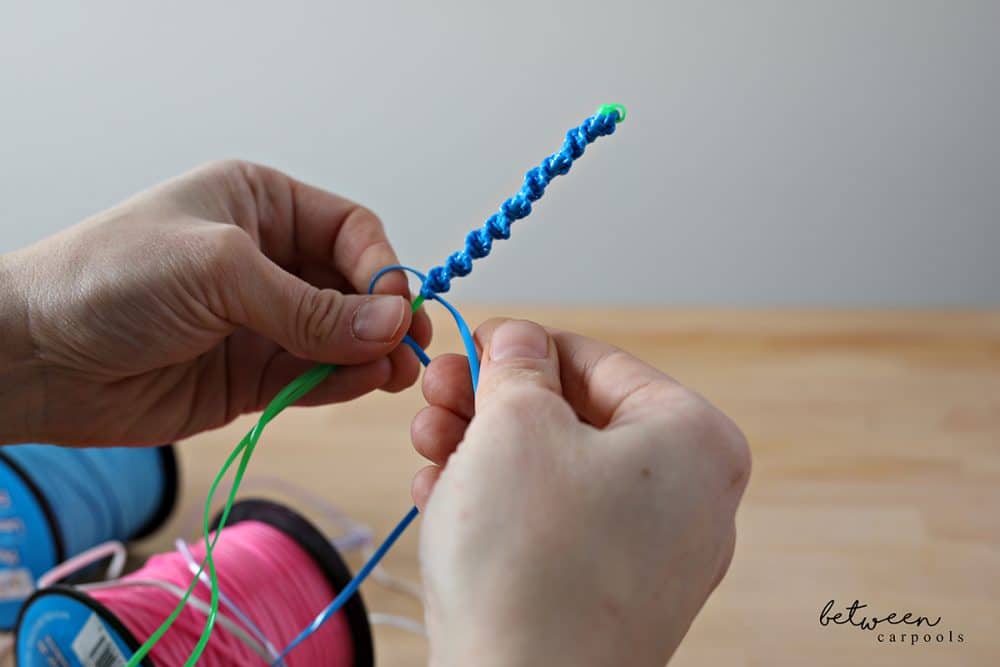
Cross one string over the center 2 strings.
 Place the other outer string over the first string, then under the 2 middle strings, and through the loop.
 Pull tight!
In Chinese Staircase, you stick to working with the same string for every stitch. In Cobra stitch, you alternate between the two outer strings (the center ones don’t get touched; they’re just there to help keep the shape).
What were your favorite lanyard stitches to create as a kid?
p.s. try these shrinky dinks for other diy craft ideas to keep the little ones busy.
90’s?! I made these I. The 70’s! ????